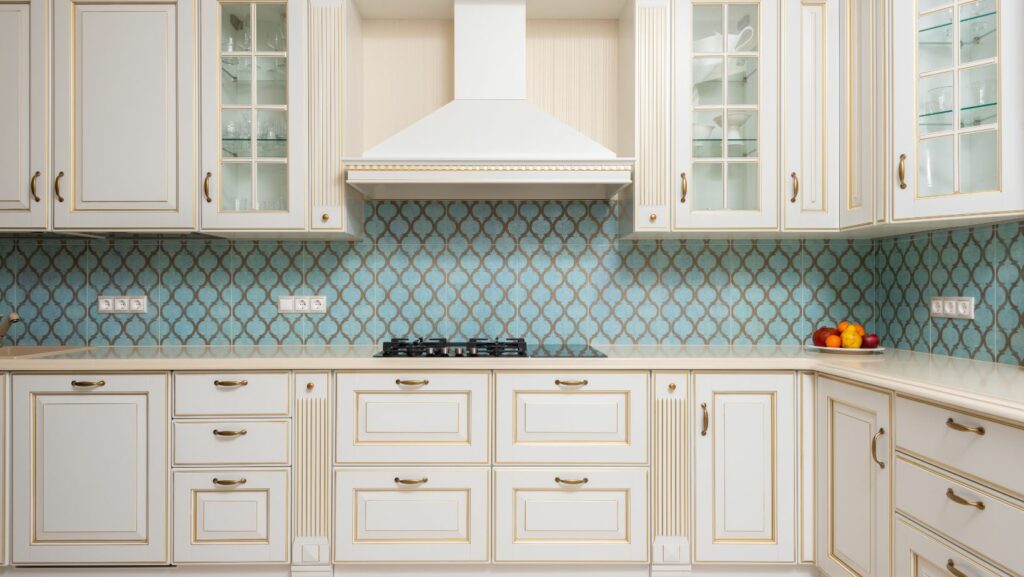
 Imagine opening your kitchen cabinet and being greeted by gleaming, spotless hardware. It’s not just a dream, you can make it a reality! This article will guide you on how to clean cabinet hardware effectively and efficiently.
Cabinet hardware may seem like a small detail, but it can make a big difference in the overall look and feel of your space. From fingerprints to grease splatters, they can easily become dirty and dull. But fear not, help is at hand.
How To Clean Cabinet Hardware
Cabinet hardware cleaning stands critical for extending its lifespan and preserving its aesthetics. It becomes part of a broader approach to keeping the overall space neat and visually appealing.
Important Tools for Cleaning Cabinet Hardware
To expedite the cleaning process, certain tools prove indispensable. For instance, a toothbrush provides the ability to reach overlooked corners and crevices. This miniature tool, coupled with household items like vinegar or baking soda, can work wonders on grime and tarnish. Furthermore, a silicone oven mitt proves beneficial for safely handling heated hardware during deep cleaning.
The Role of Regular Maintenance
Consistent cleaning sessions contribute to an easier, less time-consuming maintenance process. By maintaining a regular cleaning schedule, stubborn dirt doesn’t get the opportunity to build up excessively. Dusting off the hardware once every week means less scrubbing and fewer chances of damaging the finish.
Pre-Cleaning Steps for Cabinet Hardware
To ensure effective cleaning, pre-cleaning steps are integral parts of the cabinet hardware cleaning process. These steps facilitate a thorough and efficient cleaning, safeguarding the longevity and aesthetics of your cabinet hardware.
Preparing Your Cleaning Area
Initiating the cleaning process involves preparing the cleaning area adequately. Use large clean towels or an old spread as a surface on which to place the removed hardware. This set-up ensures a dirt-free area that protects the cabinet hardware from unnecessary scratching. It also prevents small cabinet pieces, like screws or washers, from getting lost. Besides, a well-ventilated space is beneficial if using cleaning substances with strong odors.
Finally, keep your tools – a pen and paper to mark the origin of each hardware piece, plastic sandwich bags for safekeeping the fixtures, and your selected cleaning agents – nearby for easy access.
Removing the Cabinet Hardware
When the cleaning area preparations are complete, the next step involves removing the cabinet hardware. Begin by opening the cabinet doors and drawers gently, exposing the screws holding  the hardware in place. Unscrew these fixtures using a suitable screwdriver, carefully lifting the hardware off the cabinet.
Ensure you pay attention to the origin of each piece which often varies from cabinet to cabinet. Jot down the source of each hardware piece as it gets removed to guarantee easy reinstallation after cleaning. Safely place all the removed pieces in plastic bags, then proceed to the cleaning phase.
Cleaning Tips and Tricks
 With the knowledge shared in this article, it’s clear that maintaining clean cabinet hardware is a simple task that yields significant benefits. The use of common household items like vinegar or baking soda, along with a toothbrush, can work wonders in keeping hardware looking its best.
The pre-cleaning steps outlined, such as preparing the area and organizing hardware pieces, ensure a smooth and efficient cleaning process. Regular maintenance is key, preventing dirt buildup and thus preserving both the aesthetics and durability of cabinet hardware.